HOW TO POSTS: LIGHTING AND COMPOSITION
photography lighting tips
Examples, simple techniques, and Equipment You Can Use
WRITTEN BY: BRUCE LOVELACE
UPDATED: May 30, 2024
So, you're interested in photography lighting. This post is a complete miniguide with stunning lighting examples. You'll get you 3 simple ways to use lighting to your advantage.
Additionally this article provides helpful resources to dive in deeper on specific topics within the general concepts of lighting and photography.
You likely already know that lighting is the single most important element for you to understand as a photographer. Ever notice how sometimes the lighting just plain sucks and other times it just shines?
Let's dive in. Check out these examples of lighting for a minute.
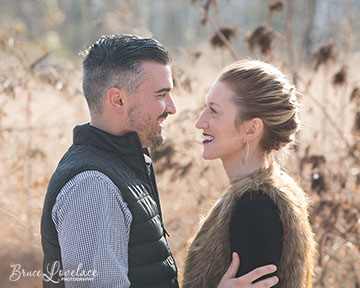
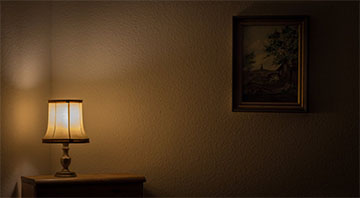
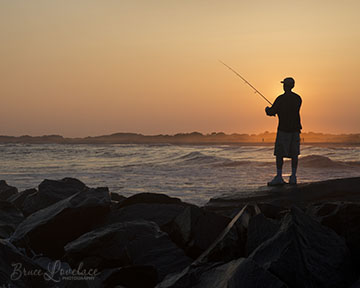
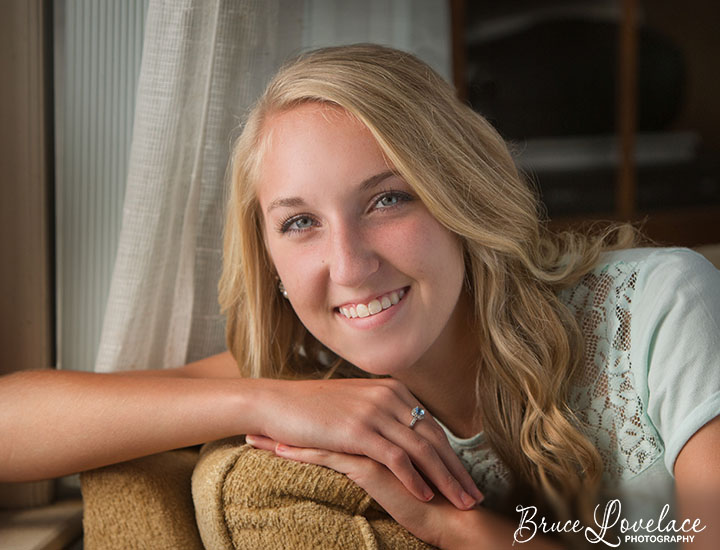
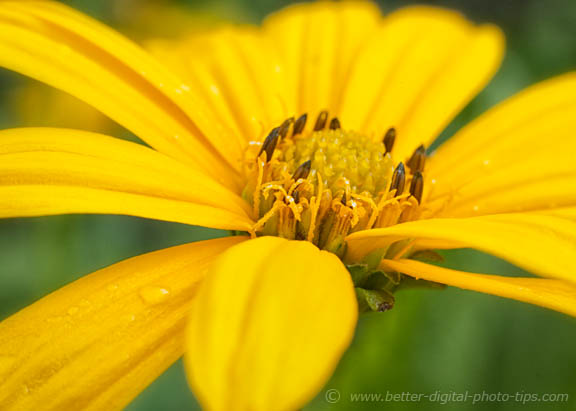
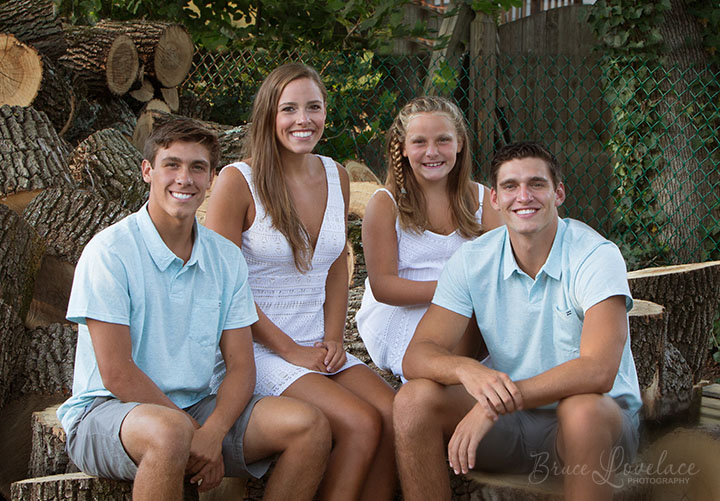
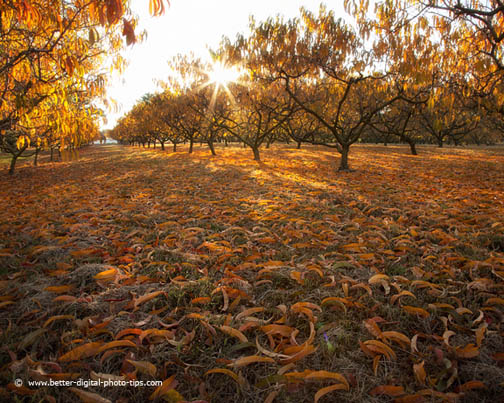
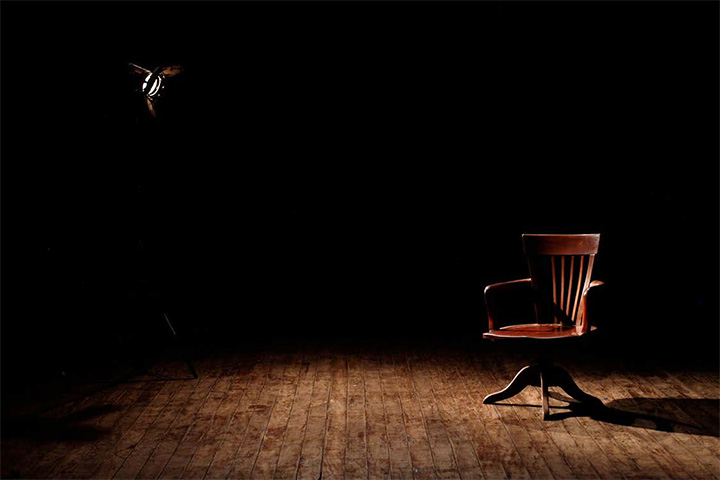
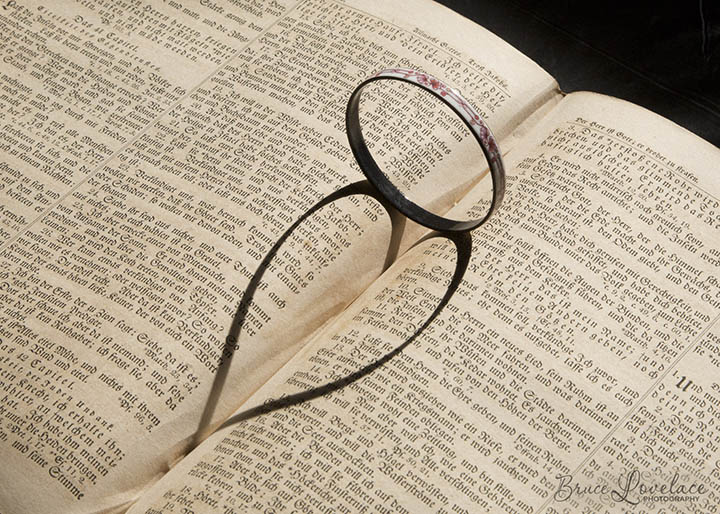
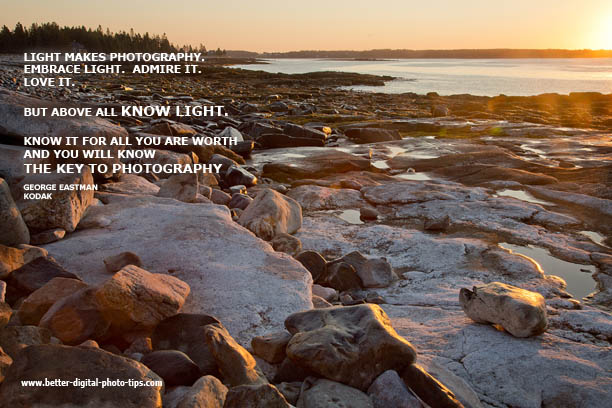
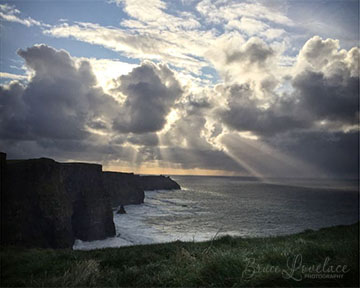
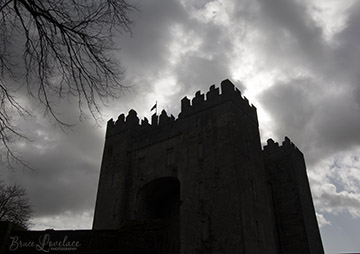
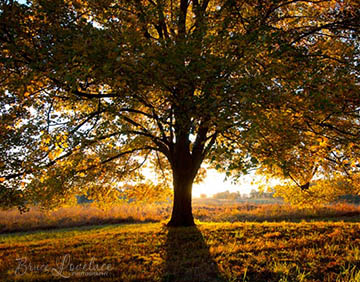
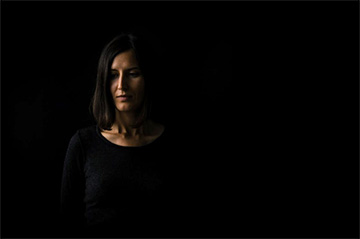
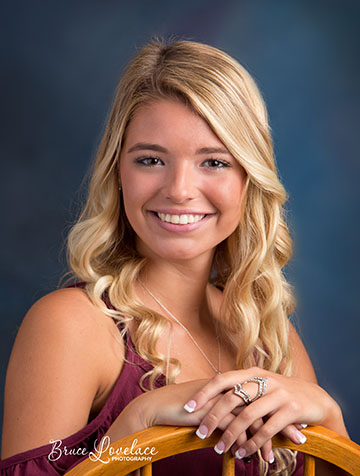
Although they look very different, the 3 photos below have one thing in common when it comes to the lighting. Do you know what it is? They all have one primary source for the light. That's what one of the chief messages you'll get from reading this post. Keep your lighting simple. You can still take some amazing photos without getting complicated.
1. use simple photography lighting
The key to successful lighting in photography is keeping it simple. Walk away from complicated and confusing lighting setups. Take a look at example photos below with 3 unique lighting types.
Simply put, photography is the recording of the light reflecting off of your subject. Makes sense, right? Well, I have to be honest with you. Some photographers do make photography lighting more complicated than it needs to be. You can completely change the impact and the emphasis of your subject with small changes in how you light it.
If you take the time to observe the light and really pay attention to how it affects your subject, you're already ahead of most of the common snapshot shooters in the world.
Learning how to "see the light" is the single biggest skill you can develop in your photography.
No, I'm not talking about anything religious here. Seeing the light is not a divine vision emanating from the universe or a supreme deity. Just pretend you're a lighting geek like me, finding yourself fascinated, as you go about your business every day and notice lighting. Let's scroll down look at some of the photos in this post. Study the natural lighting for just a minute.
2. use naturally existing light
As opposed to studio lighting or artificial lighting, existing lighting is always around you during daytime hours. Windows are a great place to find natural looking light.
You can use window light as the the single source of light in a portrait and you rarely will go wrong, but notice the direction of the light. It's coming in from outside. Notice a few things:
- This models face is well illuminated because she is very close to the window, out of view on the left.
- There is fill light being reflected into the shadow areas of her face, coming from a reflector panel on the right.
- Rather than the camera shooting toward the girl at a 90 degree angle to the window, what would the light look like if the camera were off to the right, behind the girl, shooting directly toward the window?
Here's another example of a situation where interesting lighting was already there, waiting patiently for an engaging photo to be taken. You can find opportunities like this everywhere you go. Just keep it in the back of your mind to be observant. Look for reflections, shadows, shapes, textures, and interesting lines.
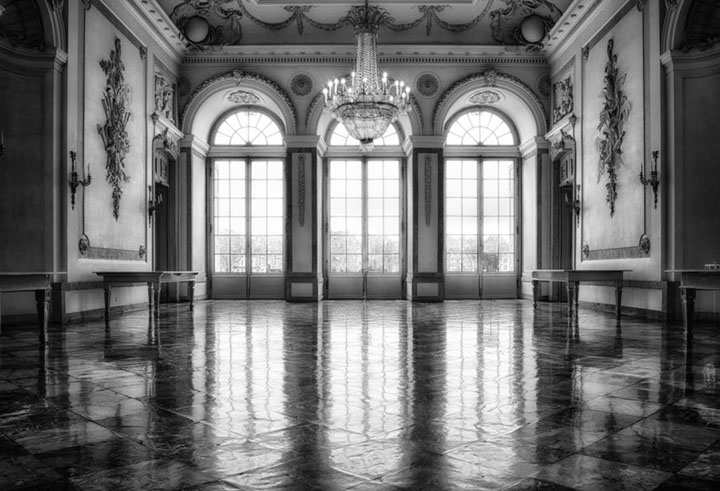 Window light #2
Lighting is a broad topic but it's a lot of fun to learn. You can have a blast experimenting with it when you use existing light in your scene, or your camera's flash in a variety of ways, or a combination of both. Sometimes you're going to have to just look at a potential subject and see if that the lighting works for you.
Like anything else, it just takes a little practice. You can take flower photos like the one below. Just moments before the sun rises, or in the shade of your house, you can take advantage of attractive lighting and a beautiful subject.
Early morning light usually is quite "soft" in nature, but still has direction because the sun's light is coming from one side of the sky. This lighting had enough direction to bring out the ridges on the flower petals.
Natural lighting for portraits is the way to go. You don't need reflectors or fill flash if you do your due diligence and find the right spot at the right time of day.
Although it sound likes one simple topic, lighting can be made quite complicated. I continuously try to watch light in order to get better at anticipating intriguing situations where I can take pleasing photographs.
There are actually many characteristics about the light source to consider. These include actual size of the light source, as well as many other aspects like the color of light. Usually when you're shooting portraits outdoors, it's better to use the existing light and only use fill flash when you have to. Okay, now let's look at your options for indoor photography and studio lighting.
observe the light like a geek
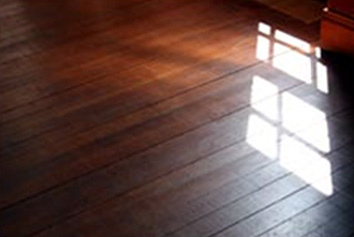 Window Lighting Comparison
Study the picture of the wooden floor for a minute. I know what you're thinking. Why do you want to do this? Giving your eyes just a little observation exercise like this will help you see and understand light better.
The wood actually takes on 5 different appearances because of the lighting. 1-You have the pure white reflection of the direct sunlight streaming through the window.
Secondly you have a 2-faint reflection, in the top left corner of the photo, from another lightly colored object, just out of camera range.
Then you have the three differently tinted areas near the sunlight reflection: 3-the white-ish in the bottom right, 4-the neutral brown in the bottom left and 5-the warmish brown in the top. Okay, I guess you can tell I am a lighting geek. But here we have the EXACT SAME mundane subject that takes on five very different appearances within the same photograph.
The wood floor is essentially uniformly the same in these five different areas. They only appears to our eyes and the camera sensor very differently because of the photography lighting.The key thing is to become a great observer of the existing light first. Develop a passion for noticing where the light is coming from and what effect it is having on your subject.
The squinting technique
One little trick to observing the light source is to use the "squinting technique". When you look at a potential scene to photograph, briefly squint your eyes.
The brightest areas will become more pronounced in your dimmed sight and give you a quick snapshot of your photographic lighting and composition.
When you're first eyeing up a scene, the first step is to see the light. Learning to see the lighting is a great skill to practice even when you're not actively using your camera.
And when I say "seeing the light," I don't mean a personal epiphany. You don't want to just casually glance at a scene. It means observing how the light is affecting your subject. What qualities are being revealed and emphasized? so, now let's move on to studio lighting.
3. start your studio lighting learning with one light
You can both learn a lot and create some interesting photos simply by experimenting with a single studio light, as was done in the photo below. This particular photo was taken in a very dark room with no stray light coming from any other sources and no nearby light-colored walls to bounce light back into the scene as fill light.
When you don't use any diffusion, like an umbrella, softbox, or reflecting panel, you'll get more distinct shadows. Usually you're not going to include your actual studio light in the photo, but in this case it adds interest to the photo and also shows you exactly how it was lit.
You can create interesting close-up still lifes anywhere. You don't need a fancy studio and you don't need sophisticated lighting systems. The heart shaped shadow photo above was taken in my basement, on a billiards table, with a single photo flood, aiming down at a bracelet that was set in the fold of an old German bible.
photography lighting equipment
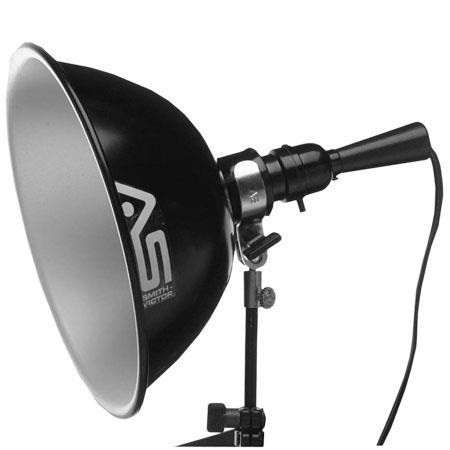 Tungsten Flood Light
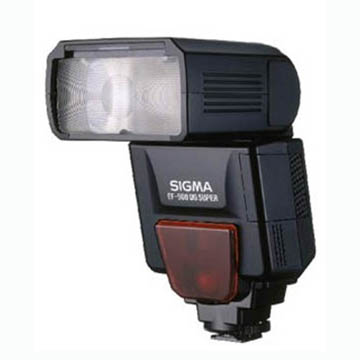
I was real lucky. When I was in photography school I had a chance to use a good variety incandescent (tungsten) lighting and strobes (electronic flash). I also had a flash gun which attached to my SLR's hot shoe.
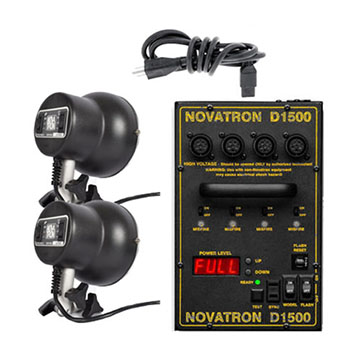
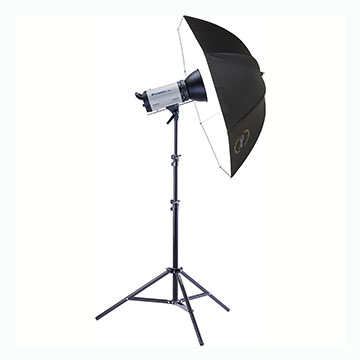
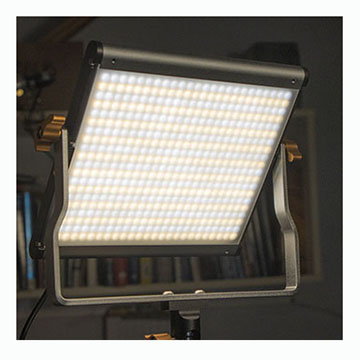
If you're a beginner and you want to learn a lot about lighting, you should get two floodlights or LED panels. The beauty of these is that you can see exactly how your subject is lit as you adjust their angles and distances from your subject. If you want to jump straight to LED panels that's fine too. You still have the benefit of seeing the light as you adjust; but you don't get the same "feathering effect" that you can get with floodlights.
An additional way to get a feel for what kind of lighting you should get can be found by reading reviews on various types of lighting equipment. Look for the reviews that are rated "most useful," not necessarily the highest rated. Here are a couple of examples you can click on, just to see what buyers have commented on:
As an Amazon affiliate I may receive a small commission from qualifying purchases, at NO added cost to you.
the four elements of lighting
There are 4 elements of photography lighting that you want to become familiar with.
- Direction of Light
- Intensity or Brightness
- Quality of Light
- Continuous or Flash
1. direction of lighting
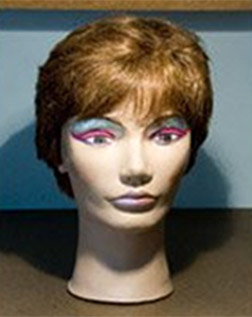
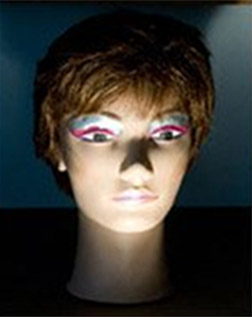
This element is easy to understand AND easy to miss how important it is. Thanks to Molly the mannequin for posing for this comparison of portrait lighting. Our portrait model was lit by the exact same light source, a regular 60 watt bulb screwed into a 6 inch parabolic reflector, in all 3 photographs.
Only the direction the light striking her face was changed by moving the light to a different position. Notice the effect on the shape of her face AND the effect on the background.
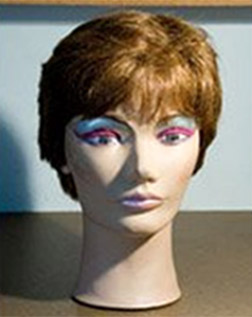 Rembrandt Lighting
 Hollywood Lighting
 Underneath Lighting
Named after the famous painter, Rembrandt lighting is recognized by the triangular patch of light on the model's cheek bone on the shadowed (left side) of her face. The light was held in front, up high to the right.
In the middle image, a glamorous Hollywood style lighting was used. The light was a smaller halogen, desk lamp that was held directly above and in front of the mannequin. Notice how the cheek bones look more pronounced.
The scary, ghoulish effect on the right is not an attractive way to light a human subject. The light was held in front and below the level of the table. It is even more dramatic because none of the light was hitting the back wall, so the dark background makes it very contrasty.
intensity
The intensity or how bright the light really doesn't affect how your subject will appear, but it does affect your camera's settings on getting the exposure the way you want it. Different intensities may change either your camera's aperture (which will change the depth of field), or your camera's shutter speed (which may affect sharpness and motion blur).
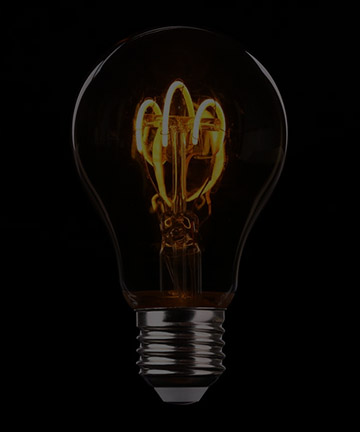
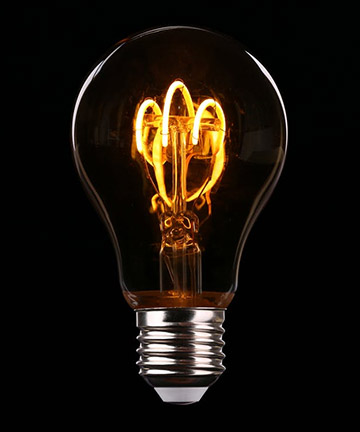
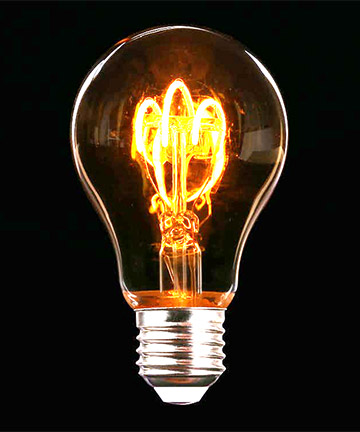
What you need to be aware of is that intensity affects exposure and exposure can affect how your photo is taken. This post is about photography lighting, but you can find out more about how intensity and brightness of your scene effects exposure by using the search box.
quality of light
This characteristic of lighting does have to do with whether light is good or bad. The quality of light refers to the size, color and "feel" of the light. We think of the sun as a big source of light. It's very intense, but direct sunlight is actually a very small light source and creates harsh, distinct shadows.
If the sunlight strikes a large wall and the scatters in many different directions, then that reflected sunlight becomes a broad light source and produces a completely different effect on your subject. Let me show you what I mean.
Examples of different photographic lighting
Hold your cursor over each of these three examples to see the comments about each photo. This is the kind of experiment you should do on your own, rather than just read about it. Hands on participating is the most effective way to learn lighting.
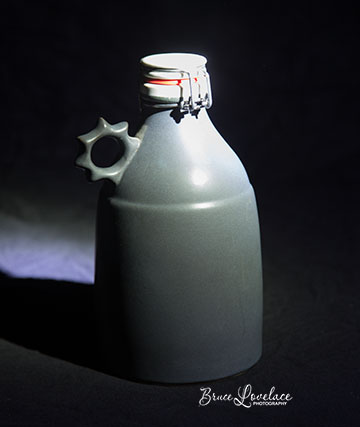 Harsh, small light source
of by a flashlight
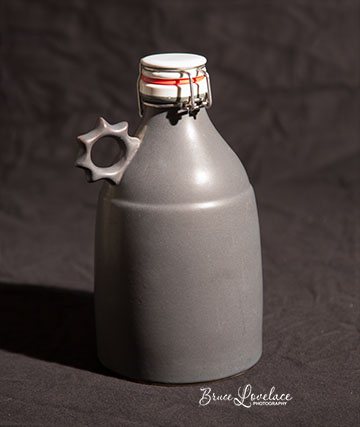 Larger light source
from using a studio light
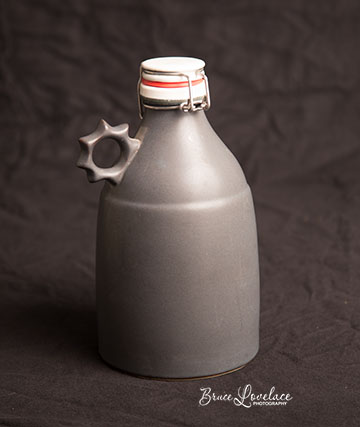 Largest diffused light
through a photo umbrella
Not only are the shadows very different with each of the 3 different lights used, but check out the very different color temperature that the flashlight lighting produced. The quality of lighting of every subject is determined by all of the different light sources that are present.
CONTINUOUS LIGHT OR brief Light From FLASH
Light that stays on is continuous light that we can see. We cannot "see" the flash until we take our photo. This kind of photo lighting is so very brief in time that it is very difficult to judge how it will illuminate our subject. Lighting using flash is often chosen to freeze the action if the shutter speed is not fast enough to stop motion blur.
With the "existing light", we can see how the light affects our subject in real time. In the portrait photographer's studio, both types of photo lighting are used. The continuous lights are called modeling lights and are used to observe how the subject is lit. Then the electronic flash is used to actually photograph the subject.
how to see and use the direction of lighting
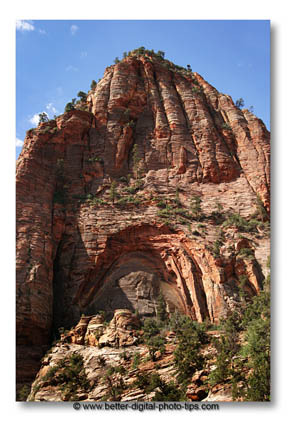 Side lighting
brings out the texture
The change from just looking at something to really seeing how it is being revealed by the light is part of artistic growth. It takes a conscious decision, and with time and practice you'll get better at judging how your picture will turn out.
This photograph of the rock surface in Zion National park shows the importance of the direction of photography lighting. The direction of the lighting really brings out the irregular and unique surface of the rock face. As the sun travels across the sky, the rock will take on a completely different look.
The second thing to do is to decide if the light is going to create your desired effect or if you want to modify the light. In this case, we can't actually change the sunlight. You can get different lighting by returning to this same spot at a different time of day or maybe even a different time of year when the sun is at a completely different angle.
In other situations, consider whether you want to add flash, add fill light or perhaps adjust the exposure to create a certain effect. Sometimes you don't have that option. You may want to move to a different angle or location to get a different lighting situation.
Consider moving or turning your subject to face a different direction if that's possible. Experiment by moving your camera position to a new location. Not only with the photography lighting change, but the background directly behind your subject may change as well.
experiment with directional lighting
Check this out. You can try this geeky lighting exercise at home. Seriously, it's worth doing because you want to learn about lighting and it's fairly simple to set up. You can use a hot shoe flash like I did, or a flashlight, a simple photo flood or utility light. Look for a flat subject to photograph that has good amount of texture. You can do this indoors, or outdoors at night.
The trick is to simply light your subject from different angles, but keep your camera in the exact same position by using a sturdy tripod. You can take several photos with any of the types of light shown below used at a variety of different angles. The flashlight, the utility light, and the floodlight are all continuous (unlike flash) light sources, making it easier to see your results ahead of time. WYSIWYG (What You See Is What You Get).
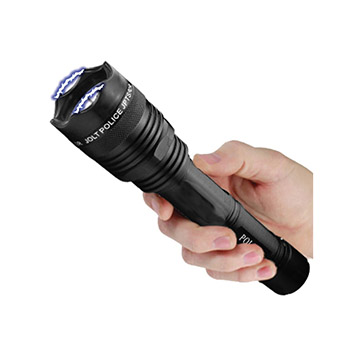 Flashlight
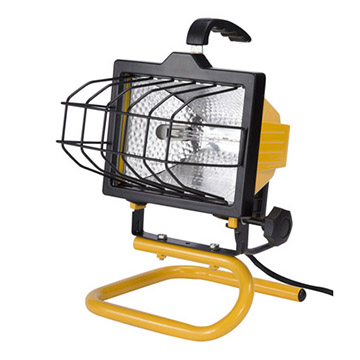 Work light
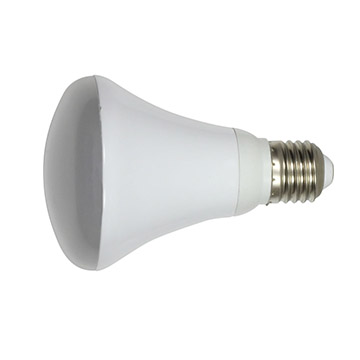 Floodlight bulb
Here's the kind of difference you'll see when you change the direction of your shoe-mounted flash. The camera was placed on a tripod and a swiveling speedlite was used, mounted on the camera's hot shoe. The camera was not moved at all for these three photos of a cinder block wall in my basement. I bounced the light off the ceiling and walls, but you can also do this little experiment by aiming your light source directly at your subject.
Photo Comparison Of Cinderblock wall
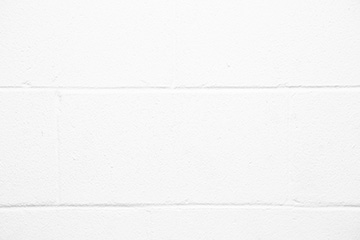 Light from above
emphasized the horizontal lines
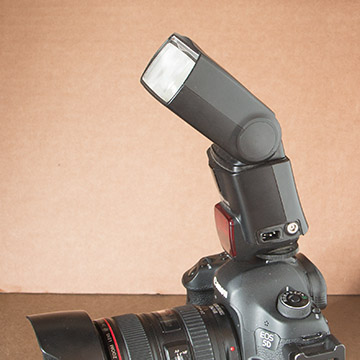 Overhead Bounced Lighting
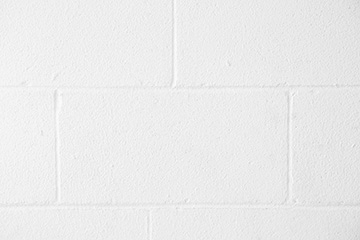 Light from the side
emphasized the vertical lines
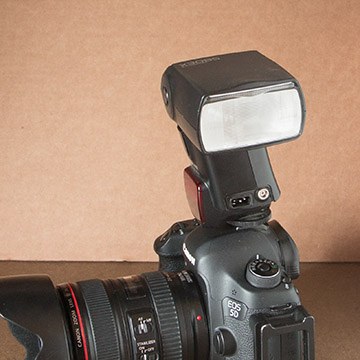 Bounced Lighting From The Left
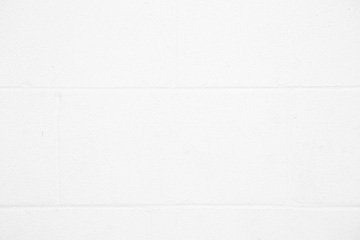 Light from behind
hides all of the texture
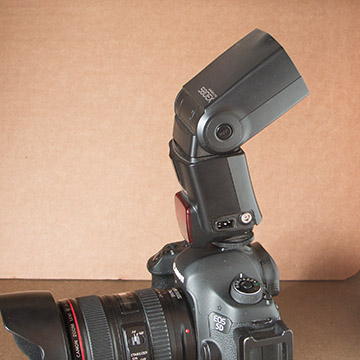 Bounced Lighting From Behind
I used a flash so I was not able to see how the different lighting directions would show up until I viewed my actual Images. If you use a continuous light source, like one of the ones mentioned above, you' be able to see what happens in real time as you adjust your light's direction. Here are more articles on lighting in photography.
basic photography lighting articles
You may find some of these articles useful in specific areas you would like information about:
- Lighting Ratio. What is lighting ratio, how to calculate it and how it affects the impact of your photograph.
- How to Use Fill Light. Use fill light to lighten the shadows, reduce contrast and improve your photography.
- Photography Lighting Techniques. Use the old fashioned but reliable squinting technique, shadows and the LCD.
- Use Morning Light. Take advantage of it and use the sweet light available in the morning.
- Nighttime Photography. Helpful, how-to guide on shooting photos at night. It's a ton of fun to play with. Tips on camera settings and exposure.
- Tips for Lighting Macro. What's the best kind of lighting to use for macro photography?
- Painting with light. This article dovers some fun activities you can do with your child (or by yourself) and learn how to get creative with painting with light during long exposure.
portrait lighting
 Studio Portrait Lighting
Do you like to photograph people? You find it a good idea to get a basic understanding of lighting ratios and how they affect the shadows areas of your portrait.
Lot's of great information for you here, as I've been shooting portraits for over 40 years and have been fortunate enough to have a few great teachers.
- Lighting Photography Portraits. What kind and how many lights. Lighting ratio.
- Portrait Photography and Lighting. Why it matters so much to me.
- Outdoor Portrait Photography
- Photo Lighting Kits. There are many choices for lighting kits.
other random lighting article
Moonlight Photos. One of the most common mistakes with photography lighting is made by over exposing moonlight photos. Here is the link to access three articles on photographing the moon.
Does Lighting Really Matter? What do you think of this sentence: "Everything that light touches can be photographed in an interesting way."
Your camera does a remarkable job with calculation exposure for you most of the time. Along with learning a few composition techniques, getting a basic understanding of photography lighting will take your photography to a whole new level. Keep on shooting and observing. Have a blast!
I hope found this short guide on photography lighting and the examples both helpful and inspirational. See related lighting topics below.


ABOUT BRUCE LOVELACE
Bruce is the publisher of this website. He is the author of the book "Improve Your Photography Instantly." Read more on Bruce on his Bio Page. He's been known as The Traveling Photographer ever since 1994. Read more about this website.
View some of Bruce's photos on Instagram. Visit the Facebook Page. Watch him on YouTube. Bruce runs photo workshops for kids and adults, and provides one-on-one photography coaching.
Digital Photography Education Location on Google My Business
Recommended Lighting Kits To Try
As an Amazon affiliate I may receive a small commission from qualifying purchases, at NO added cost to you.
