HOW TO POSTS: LIGHTING AND COMPOSITION
10 Tips for Helping Children Take Better Photos
WRITTEN BY: BRUCE LOVELACE
UPDATED: August 1, 2025
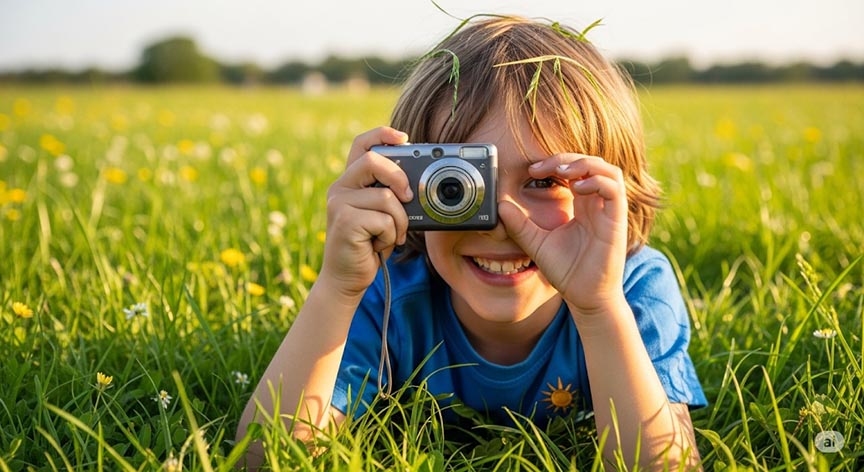 Happy Young Photography Student
Photography is a marvelous tool to help children express their creativity, document their world, develop useful skills, and learn to observe their surroundings more closely. Giving a child a camera, whether it's a cell phone camera, a point-n-shoot, or a new mirrorless camera, can open up a new perspective.
But how can you guide them to go beyond blurry, random shots and take photos they'll be proud of? Here are 10 tips to help young photographers develop their skills and have more fun with their craft.
1. Avoid Blur
Starting with advice based on avoiding an undesirable outcome doesn't give you the most exciting tip to begin with, but it's the likely the first one needed to learn for the young photographer. Why? The single biggest cause of getting a disappointing photo is coming away with a blurry photo. Blur is caused by one or more of the following, camera movement, subject movement, or a focusing issue.
How can your child avoid getting a blurry photo? Today's cameras are remarkably good at auto-focusing, so movement is usually the culprit. Holding the camera properly and remaining still when the photo is taken usually solves the problem, but for a more in-depth understanding read my post on Avoiding Blur.
2. Use Projects
Rather than a freestyle "here's the camera now go shoot some pictures" approach your child will gain more by being guided by following a theme or shooting a specific project. For example, a themed photo project could be to shoot nothing but close-ups photos, friends' portraits, or photograph things with strong textures.
Initially narrowing your photography shooting session subjects lets you concentrate and develop related skills faster. Check out these Photography Projects I wrote about in another post.
3. The Rule of Thirds
Whether it's a cell phone camera, a DSLR, or a mirrorless camera you're using, the most commonly used rule for achieving a pleasing composition in your photo is the Rule of Thirds. Briefly explained, placing your main subject along an imaginary 1/3 distance from the edge of your photo, or at the intersection of 1/3 horizontal and 1/3 vertical lines, gives you a winning composition.
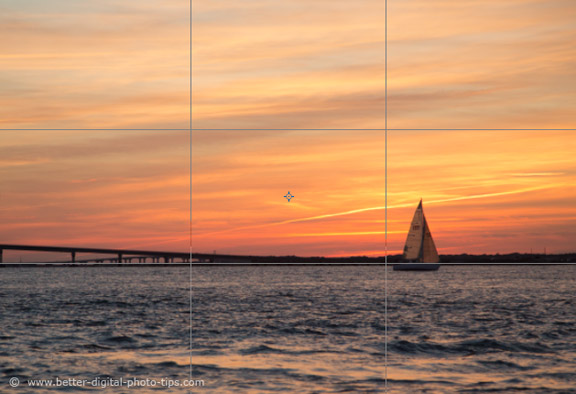 Example of Using The Rule of Thirds
The rule of thirds is often used when you have a clear subject with a visually separated background. With some photos there may be more than one subject and the overall balance of you composition is better without using this rule.
One caution, especially with such different subjective opinions on composition, is that all rules are meant to be broken. Having your photography student (and you) practicing using this rule will make you a better photographer. Here's more information on the Rule of Thirds.
4. Leading lines
 Leading Lines
Have your child look for visual lines within your camera's viewfinder that lead your eye into the composition. Usually lines that are on diagonals, rather than perfectly vertical or horizontal, work best. This is a good technique to use for both man-made structures and those found in nature.
This is a fun project to learn with because the search for suitable subjects is engaging to start with. Notice in the leading lines example above that, although the rule of thirds could have used, in this instance a symmetric composition was tried instead.
5. Framing
Using a visual frame within your camera's picture frame is a challenging but rewarding project for students of photography to experiment with. See the example of framing as a compositional technique below.
 Try Using a Framing Technique
Trees or bushes work great as framing objects to include in your photo with outdoor photos. Doorways, windows, and arches work great with indoor photography.
6. Textures
Subjects with pronounced textures make for good subjects to learn photography from. You can find textures to photograph everywhere which makes it an easy photography project to learn from.
 3 Examples of Texture Photos
Tip: Textures usually stand out more when the light is coming in from an angle. Photos that emphasize texture are usually simpler compositions because they're often taken from a close-up position to the subject.
7. Painting With Light
The kids who have taken my photo workshops have a blast with this one. The painting with light lesson involves some trial and error with camera setting and adult supervision is quite helpful.
8. Take a Strong Perspective
This is a great project for kids to develop their composition skills. Pick a subject and photograph it from different angles with different lens zoom settings.
 Comparison of Different Perspectives Of The Same Subject
Notice the variety in the 5 sample photos above. Taking different perspectives dramatically changes the emphasis of different aspects of the same subject. Kids can learn how to spotlight different features by the camera angle, camera height, distance to subject, and the lens setting.
9. Do Shadow Photography
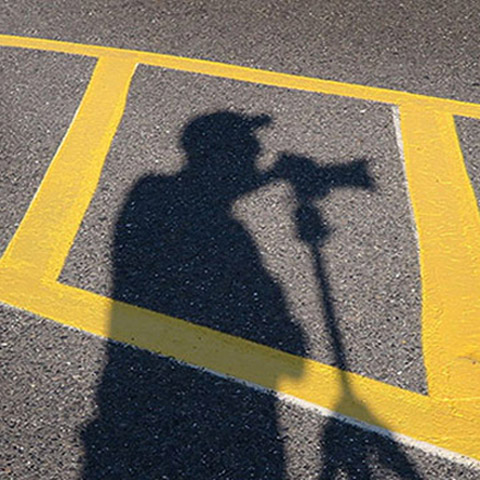 Shadow Selfie Portrait
Photography is all about lighting and one of the most popular assignments that I use when running photo workshops for children is based on taking photographs where the main subject is a shadow.
This technique works well when you compose the photo so that the shadow takes up most of the room in your viewfinder.
Shooting when the sun is out and not diffused by clouds gives you the best results. When the sun is at least somewhat low in the sky you'll get larger, more visually dominant shadows.
I took this selfie shadow portrait early one morning in a large parking lot and used the warning painting to frame me in within the composition.
10. Children's Photograph Critique
Evaluate photographs in detail. Critiques can take many forms and they are a powerful way to learn more about photography. The key point is that they must be done in the proper manner.
Whether done by individually by a single person, a small group of peers, or a social media photography group, it's important to keep it positive.
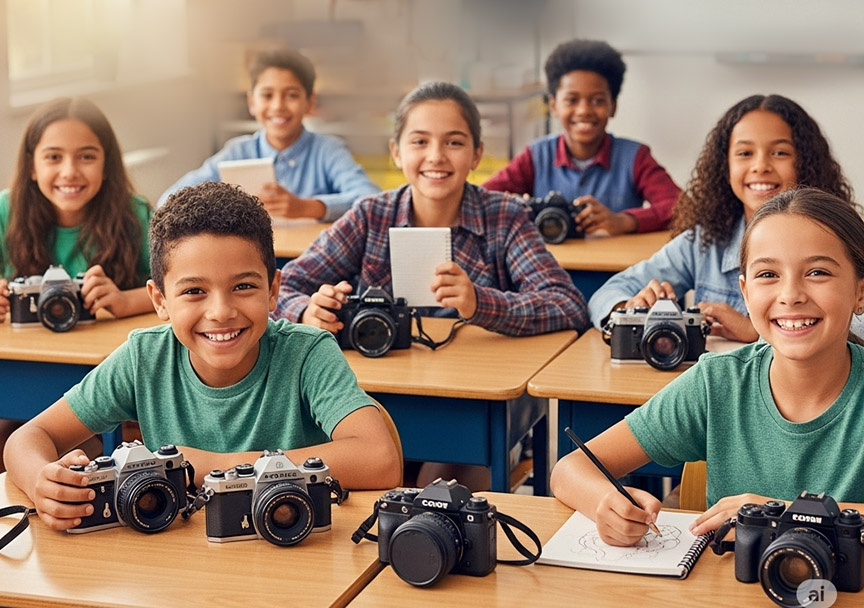 Group Critiques are Helpful
The truth is I was blown away by how educational it was to hear the different observations when we did small group critiques during our workshops. Each student had a different reaction to each photo examined. Often the kids noticed things about photos that I hadn't though of.
How To Critque a Photograph Taken By a Child
The best way to critique an image made by a student is to provide constructive observations, not criticism. Comment on the artistic and technical aspects such as emotional impact, brightness, color, composition, focus, and sharpness.
Recognize the student's effort in capturing what they wanted to photograph. Question what the student might do differently if they took another version of the subject again.
If you'd like to have fun with this and learn what to look for when you're viewing a photo watch this video I've linked to on YouTube: How To Critique Photographs.
Teaching Kids Photography Summary
Following just one theme, project, or subject at a time is the best way for kids to learn is a smart way to teach photography to your child. There are no absolute right and wrong ways to capture a subject in a photograph, but there are different results you get as the photographer.
With the high level of technology built in to cameras today making good photography easier to accomplish it's a great hobby to enjoy.
Have a blast!


ABOUT BRUCE LOVELACE
Bruce is the publisher of this website. He is the author of the book "Improve Your Photography Instantly." Read more on Bruce on his Bio Page. He's been known as The Traveling Photographer ever since 1994. Read more about this website.
View some of Bruce's photos on Instagram. Visit the Facebook Page. Watch him on YouTube. Bruce runs photo workshops for kids and adults, and provides one-on-one photography coaching.
Digital Photography Education Location on Google My Business


