HOW TO POSTS: LIGHTING AND COMPOSITION
All You Need to Know About Photo Scanning and Scanning Services
A guest post by Laurent.
Learn the advantages and disadvantages of photo scanning on your own and using a professional scanning service as an alternative. This article will help you decide whether you want to make digitizing your prints a DIY project or have somebody else spend their time doing it for you. - BRL
 Are you overdue to have your photos scanned?
Choosing to scan your print photos and convert them to digital is one of the smartest decisions you can make when it comes to preserving your photographic memories.
Another choice, and perhaps sound decision in this respect, is to use a professional service to get the job done quickly and painlessly.
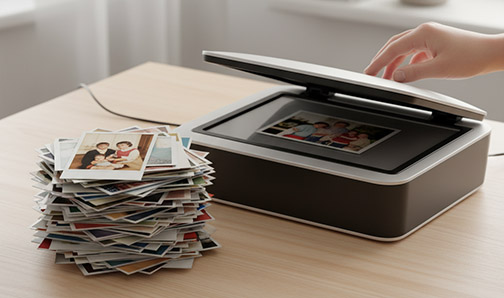
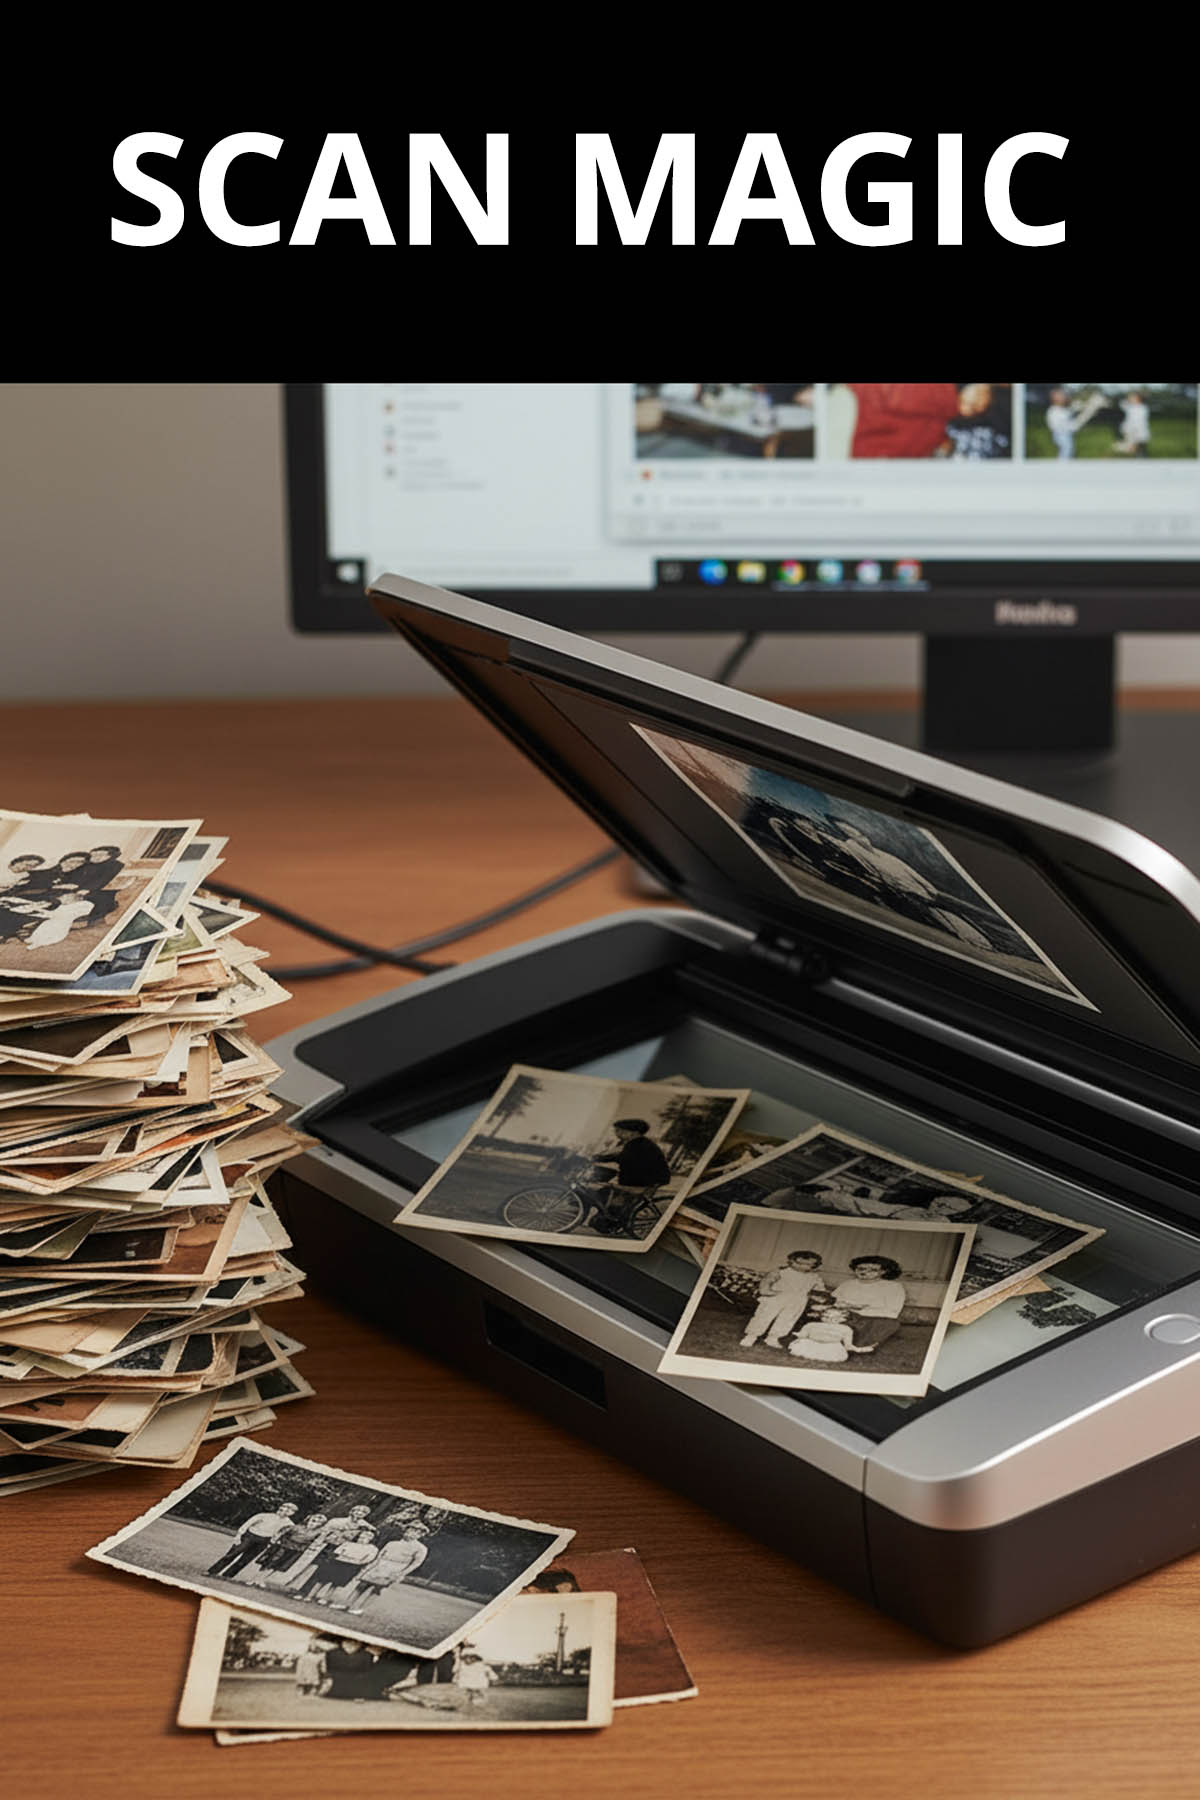
Most people think they can DIY their way through this project armed with a decent home scanner. While this is true in theory, it ignores the significant personal time factor involved. According to surveys, the average American has about 3000 analog photos in their possession. Based on a standard estimate of 7 minutes per scan, a collection this size can take several weekends to wade through.
The DIY Do-it-yourself photo scanning route
If you do decide to take a shot at it, however, there are the several points to consider when shopping for your own scanner and setting up your scanning workstation at home. Here are the 5 things to think about.
1. quality (Resolution) of photo scanning
The best measure of quality in a scanner is scanning resolution. This is the metric that sets good scanners apart from the not-so-great ones. In most cases, a higher resolution number is better and indicates that the scanner can pull more detail from a photo.
But in some cases (particularly with lower end scanners), the scanner may achieve this by interpolating and filling in with fake pixels rather than actual image detail. The difference may be hard to gauge in a digital photo but will show up in a print.
The other metric to pay attention to is scanning color depth. This is measured in bits and again indicates the level of information that the scanner can draw from a photo in order to yield a better looking scan at the end. In most cases, you will get good results with anything around 24-bit scanning or upwards for color photos (8 bit for black and white photos).
2. consider what you're going to scan
There are several decent flatbed scanner models out there but you may want to read a few reviews to figure out the best one for you based on your budget. Another key consideration is whether you have negatives and slides to scan apart from photos. In that case, you will want to look for scanners with adaptors to process those types of photographic media as well.
The best time to scan your old prints is now. Time is not your friend in this case. It's time to organize and preserve them. You don't want them to fade any more than they already have.
3. Other important factors
The resolution you pick to scan your photos impacts more than just scan quality. It also affects scanning speed as well as the size of the final image files. If you have several hundred photos to scan, then go with a resolution setting that doesn't slow the process down dramatically. You have to weigh the speed versus quality trade-off in making your selection. For the most part, with prints, a resolution of 600 dpi is optimal - allowing you to maintain a steady scanning pace while yielding scans that can be used for great looking prints and enlargements.
Higher resolution scans also occupy more space. Just to provide an example, a small 4 x 4 print that is scanned at 4800 DPI produces an image that can occupy a whopping 2.2 gigabytes of hard disk space. This may be an extreme example but even lower resolution settings can create image files that are a few dozen megabytes in size. So, you have to try and optimize for both storage and quality when choosing the resolution level.
4. Editing and restoration
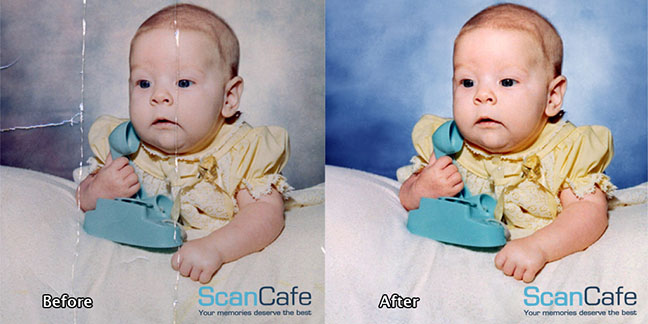 Before and after comparison of scanned and edited photograph
A faded or damaged photograph is not going to be magically restored upon scanning. It will simply be a digital image of a faded or damaged photo. Good photo editing software can help you make the required fixes but there is a learning curve involved in learning to use this effectively. Most scanners only come loaded with basic editing software. For advanced restoration, you need more robust software such as Photoshop and Lightroom. These days, you can get a cloud-based subscription to these applications to easily access their tools.
PUBLISHER'S INSERTION: Whether you scan yourself or have it done by a scanning service it's vital that you have our scans backed-up in 2 separate location. For more information read my post on How to back-up your photos.
5. THE PROFESSIONAL photo scanning ROUTE
Using a service, of course, allows you to bypass all of the decisions and purchases involved in the DIY route. But again, when evaluating services look for experience and a few other factors before zeroing in on one.
QUALITY - Scanning resolution is an important number. As mentioned earlier, a resolution of 600 dpi for photos (3000 dpi for slides and negatives) is ideal, especially if you want to make prints and enlargements.
SAFETY - This is key, when you consider that you are trusting the service with some of your most valuable assets - your memories. Check to see if the service has door to door package tracking and video monitoring of its operations - two important ways to make sure that nothing is lost is misplaced on their end.

COST - With an order of more than 1000 images, costs can add up quickly. So you need a service that can offer value without compromising on quality. One way you can save money is if you have the option of reviewing and discarding some of the scans (the ones you don't want to preserve) before paying for the order. Some services will give you lower rates for slightly longer turnaround times. That can be a great money saving option also.
RESTORATION - Most established services offer standard photo editing features - including color correction, scratch and red eye removal and more. Old photos that are faded, water damaged or ripped will need more work and a service with a strong restoration unit can step in to fix these for you. In cases where parts of a photo are missing, a restoration specialist can do detailed work at the pixel level to rebuild it.
STORAGE - Most professional services will return your digitized photos on a flash drive or similar form of storage. Many of the better players now offer the convenience of online or cloud-based storage to ensure that your photos are always safe and easily accessible.
It is true that there are plenty of photo scanning services out there but they are not all built the same. Look for a company with a solid track record and experience with different kinds of photographic media to ensure that your experience is the best it can be.
It's a good idea to start the search now rather than later. By delaying the project, you only expose your precious photos to the twin risks of loss or damage. Digitizing your memories, on the other hand, makes it easier to display, relive and enjoy them.
----------- END OF SUBMITTED ARTICLE ----------
You can learn quite a bit about an individual scanner by reading the reviews of those people who have purchased and used it.
As an Amazon affiliate I may receive a small commission from qualifying purchases, at NO added cost to you.
Photo Scanners on Sale at Amazon
how much dpi for photo scanning
I want to add one comment about what dpi (dots per inch) resolution settings should be used on a scanner.
You may be wondering if 300 dpi is enough resolution. The answer is use if you're satisfied with the existing size of the photo that you're scanning. No, if you're wanting to scan a small photo to a bigger size.
For the best resolution, set your scanner dpi setting as follows:
- If you have several small photos, scan them at once. On a regular sized scanner bed, you save time and scan four 4x6-inch photos or smaller at once. With software you'll be able to crop the individual scan into the individual photos. Use "save as" and name them individually.
- Select a resolution of 300 dots per inch when you want to digitize your photos to the same size as the original.
- Use 600 dpi if you want to 4x the size of your photo. Yes, doubling the resolution will quadruple the size of your image.
Stay inspired with your photography. Keep shooting.


ABOUT BRUCE LOVELACE
Bruce is the publisher of this website. He is the author of the book "Improve Your Photography Instantly." Read more on Bruce on his Bio Page. He's been known as The Traveling Photographer ever since 1994. Read more about this website.
View some of Bruce's photos on Instagram. Visit the Facebook Page. Watch him on YouTube. Bruce runs photo workshops for kids and adults, and provides one-on-one photography coaching.
Digital Photography Education Location on Google My Business
