HOW TO POSTS: LIGHTING AND COMPOSITION
monopod stability tip
How to stabilize your monopod and hold it to work like a tripod

You're looking how to hold your monopod in a stable way. This posts gives you 2 ways. The first monopod stability tip is best imitated by copying what's this diagram shows. Hold your monopod this way and you'll make your monopod work almost as well as a tripod.
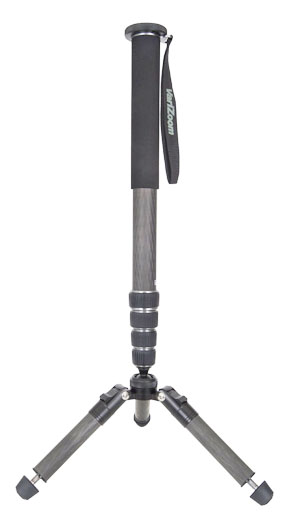
Monopods do a great job of reducing motion blur compared to just steadying your camera using just your hands without support. Monopods can't duplicate the stability you get with a tripod, but you can add to the stability of your monopod and get sharper phots and steadier video.
Your camera can move in a variety of directions when you squeeze the shutter button and take your photograph. Think about it. It can move front to back, side to side, up or down, tilt clockwise or counter-clockwise, rotate on its axis, or any combination of the above. Here are two ways to improve your monopod stability.
1. how to hold your monopod
- Spread your feet to about the same width as your shoulders are wide.
- Place the bottom tip of your monopod in front of you to form a triangle with your feet., also at about the same distance as your shoulders.
- Lean forward slightly to put a small amount of pressure on your monopod.
- Squeeze your shutter gently.
There's often a lot of opportunity to get blurry photos unless you are using flash or a high shutter speed. The monopod eliminates the up and down and quite a bit of other motions, but there is still a good chance you might have some leftover camera movement during exposure. There are also other ways to hold and use your monopod.
There is another way to stabilize the monopod. Add a second point of contact to a solid stationary object. Now with the tip of the monopod and the secondary point, there is much less potential for camera movement.
2. Add a second stability point to your monopod
- Rather than depend on just the one contact point, the bottom tip of the monopod on the ground, you can add a second point of contact. That could be a wall, a fence, or a tree.
 1. Connect stabilizing object to monopod.
- Using a large Alligator Clip, attach a 1 inch by 1 inch piece of trim board (or other solid,hard object) to the monopod leg and gently press the other end of that 1 x 1 against a solid, stationary object. The photo below shows a window jam used as the secondary point of contact.
 2. Lean the stabilizer against a stationary object like a wall or tree.
This takes the stability of the monopod a big step closer to the stability you get when using a tripod. You still cannot let go of your camera with this stabilizer-bar method like you can with a three-legged tripod.
Your monopod, stability bar and a clamp weigh int at a fraction of what a tripod weighs and they take up less space too.
 Much lighter than carrying a tripod
monopod stability tip - limitations
Here is my disclaimer: Using this technique will not give you the same degree of stability that you get by using a tripod. This monopod tip for added stability definitely does have limited uses, but there are situations where understanding this technique will be very useful and help you avoid taking blurry photos.
Some photographers might even label this as a gimmicky technique. Image stabilization technology has reduced the demand for monopods and that's a shame. Simply having a solid foundation of a monopod to bare the weight of your camera alone is a nice benefit to enjoy
As an Amazon affiliate I may receive a small commission from qualifying purchases, at NO added cost to you.

An additional technique to use to get great sharpness with your monopod is to use a remote shutter cord or a wireless shutter trigger. Even the slightest pressure on your shutter button will have an impact on your camera's steadiness.
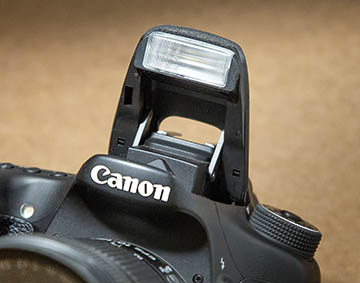
By triggering you shutter with an electronic remote release, or by using a shutter release cable like this one pictured, you are avoiding another cause of camera movement and can avoid the common photo mistakes of camera movement and blurry photos.
Stay inspired. Shoot more photos.


ABOUT BRUCE LOVELACE
Bruce is the publisher of this website. He is the author of the book "Improve Your Photography Instantly." Read more on Bruce on his Bio Page. He's been known as The Traveling Photographer ever since 1994. Read more about this website.
View some of Bruce's photos on Instagram. Visit the Facebook Page. Watch him on YouTube. Bruce runs photo workshops for kids and adults, and provides one-on-one photography coaching.
Digital Photography Education Location on Google My Business
You might like these
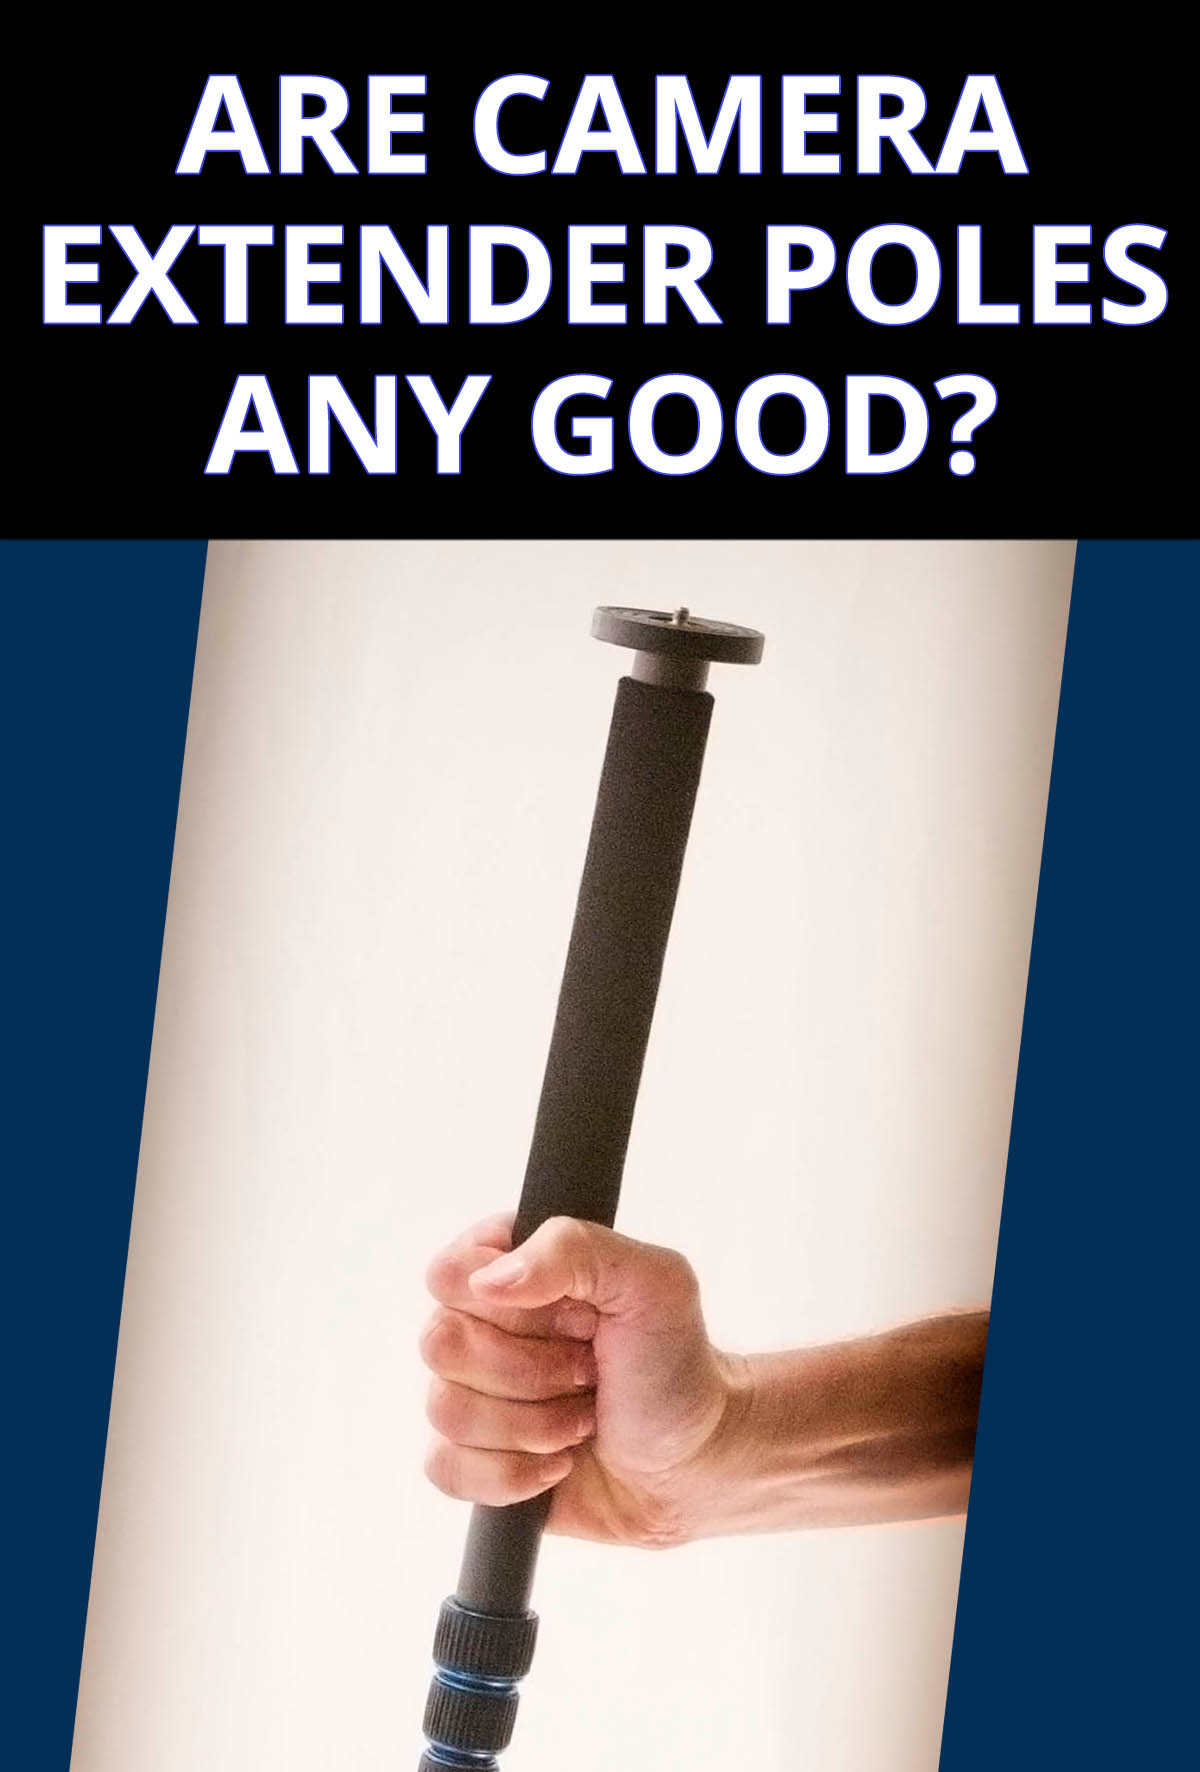
5 Camera Extender Buying Tips How To Buy An Extender For Your Camera
Extend Your Reach: The Secret Weapon of Pro Photographers (It's Not What You Think!) Beyond the Lens: How Camera Extender Poles Elevate Your Photography Game
Complete List of Articles on Monopods-Camera Monopod Information Index
Complete list of answers to all your questions about camera monopods. Index on how to post on camera monopods.Tips on monopods accessories.Articles on monopods.
What is a Monopod Used For? When to Use One. Definition of Monopod
It is one of the most underused camera accessories you should be using. What is a monopod used for?

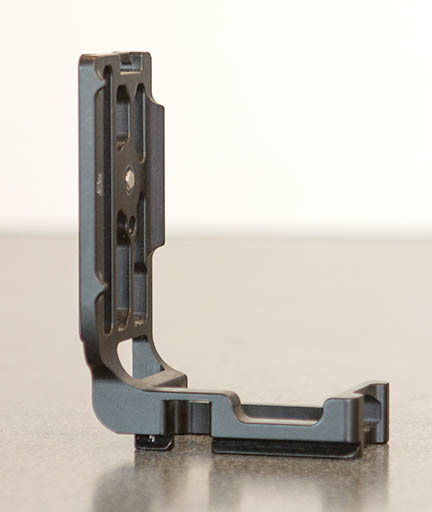
What Is An L Bracket For in Photography And How To Attach it to Tripod
Why you should get this simple but unique accessory to improve your photography. Learn what Is an L bracket, how it works, and how to attach it to your camera tripod
5 Digital Camera Accessories For Beginners. Camera Gear You'll Love
What camera gear to get first.Get great deals on the essential Digital Camera Accessories for your DSLR. Beginners Guide to 10 DSLR camera accessories.
What Are The 4 Kinds of Small Digital Camera Tripods You Can Buy
There's one best small digital camera tripod that won't cost you too much money. Check out these 4 types of little tripods.

Search for a new topic on this site:
Recent Articles
-
Is it safe to buy a camera online-The Simple Three Step Way To Be Sure
Apr 26, 24 07:54 AM
 Picture Perfect Purchase: Tips for Buying a Camera Online with Confidence. Make it safe to buy a camera online?
 -
What is Auto ISO? Tips On When to use it and When Not to Use Auto ISO
Apr 24, 24 05:44 AM
 Auto ISO Simple Guide. Questions and answers on when to use AUTO ISO and when not to use it. How you can use it to improve your photography.
 -
Best Photo Backup System - Never Lose a Photo Again, Ultimate Guide
Apr 21, 24 01:45 PM
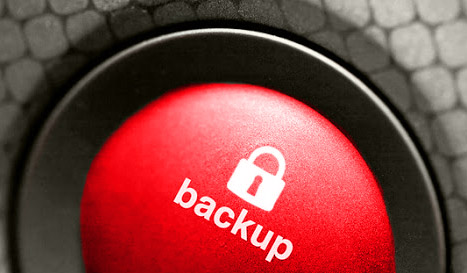 You're at risk to lose your precious digital photos. What's the best photo backup system? Read on my firend
 -
What is Bokeh. Why It's So Important And How To Get The Best Bokeh
Apr 19, 24 02:12 PM
 With multiple meanings and false definitions. Find out what is bokeh in photography. It's a simple way to improve your photos by controlling the out of focus areas of your subject. How to get the best…
 -
7 Reasons Your Camera Won't Focus And The Simple Ways to Fix It!
Apr 19, 24 01:41 PM
 That's annoying! You missed another important photo because your darn camera won't focus. 5 simple tips to fix or avoid missing that great shot.
 -
How to Take a Self Portrait With a DSLR or Mirrorless Camera
Mar 30, 24 02:27 PM
 Selfie Superstar: Master the Art of the Self-Portrait. Simple steps on how to take a self portrait with a real camera, not just a smart phone selfie.
Improve your photography instantly. Get the 2 most important chapters of my photography book for free.