HOW TO POSTS: LIGHTING AND COMPOSITION
why use a polarizing filter
You're wondering why you should want to use a polarizing filter. Very simply put, polarizer filters make your photos look better. They reduce glare and unwanted reflections and improve your photography by making your images be more vibrant.
These filters most often used to darken blue sky, increase saturation, and to reduce reflections from water, glass and other reflective surfaces. Polarizers are very useful in landscape photography. Your photos can also have better contrast. The effect that one of these filters has depends on the direction of the light in relationship to the orientation of the lens.

How To Choose The Best Polarizing Filter
There are three qualities that these filters should have to get the maximum benefit in your photos.
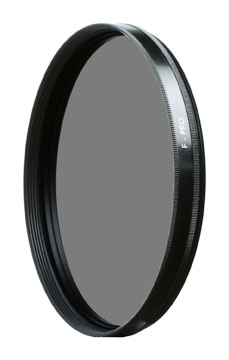
1. CIRCULAR. These filters must be able to rotate after you screw them on so that you can adjust your filter to the direction of the light. Look for the initials CPL on the side of the filter to make sure it a Circulating Polarizing Lens filter.
2. MULTI-COATED. Secondly, they should be multicoated to reduce reflections on both sides of the filter. Filters without high quality multi-coatings on both the inside and outside filter surfaces will give you poor image quality.
3. AFFORDABLE. Don't choose buy the most expensive CPL filter. It doesn't automatically mean you're getting the best one. Avoid the cheapest ones too. They're most likely going to disappoint you in terms of how your photos come out. Buy one that gets a high number of positive ratings from photographers who have used and reviewed it.
use a polarizer to darken the skies and increase saturation
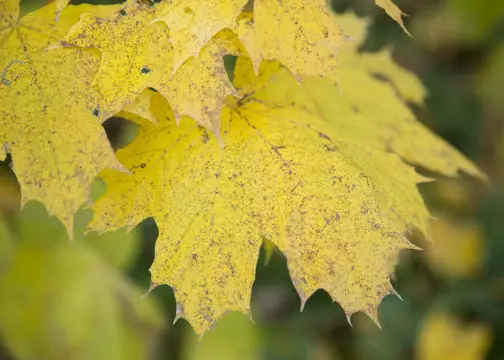
Because they will reduced the reflections on leaves and foliage, your photo will have better saturation of colors. Let's dive in and take a look at a side by side comparison of images taken with and without a polarizer in an outdoor setting.

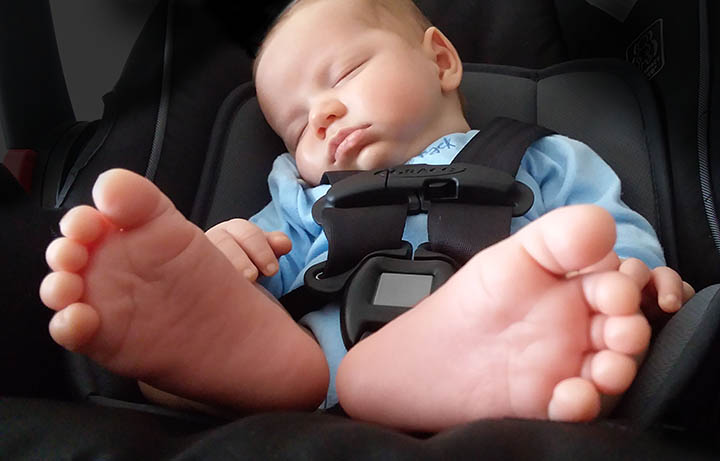
This was a real quick photo assignment I gave myself to illustrate the effect of a PF (polarizing filter). I grabbed my Canon 5d DSLR with the 24-105 zoom lens attached and the filter from my camera bag.
My lovely bride of 33 years was napping on our hammock. Of course while in a hurry, I grabbed a 55mm filter for a lens that needs a 77mm filter. In the photograph on the right, I simply gripped the PF by its edges and held it flush with the front of the lens.
Look at the difference! Not only did the sky turn a beautiful blue, but we also got more color saturation in the foliage.
use a polarizer to reduce the reflections
Many landscape photographers wait til they get back to their computers to darken the sky or add saturation to their photos. You may not want to waste time at the computer. You'd rather get those beautiful skies recorded at the time of image capture. that's one of the advantages of using the filter when you take the photograph.
The biggest advantage of using a polarizer is reducing reflections and cutting down on the glare that reflects off of smooth objects. Reflections from water is the best example of this undesirable effect.
BEFORE AND AFTER POLARIZING FILTER
Here's a great comparison of before and after photos you get by attaching one of these filters to your camera lens. Many photographers scoff at the idea that you need filters anymore. There are so many photography apps and editing programs that do a great job creating effects after you take you photos.

This is one effect that cannot be achieved by using an app or editing software. Here you can see that the filter reduced the reflection from the white cloudy sky. In the photo on the right, you can see the leaves of the lily beneath the surface of the murky green water.
Had there been any fish in the water at the time you would have easily seen them. No editing software in the world would be able to see through the reflection afterwards.
One way to cheat is to use sunglasses that have polarizing lenses. This will only work with "point and shoot" or smaller cameras where the lens size is not big like a DSLR lens. Make sure the sunglass lenses are clean and free of scratches. Also realize that sunglasses don't have near the same optical quality as a professionally manufactured photography lens filter.
How Do polarizers Work
Polarizing filters absorb part of the light waves (Electromagnetic radiation energy) that vibrate (wiggle) in a certain direction and they allow most of the remaining light waves to pass through to your cameras sensor and result in an enhanced image. Because they absorb some of the light that reaches the sensor, the exposure is effected and your camera settings will need to be adjusted.
When not to use a polarizing filter
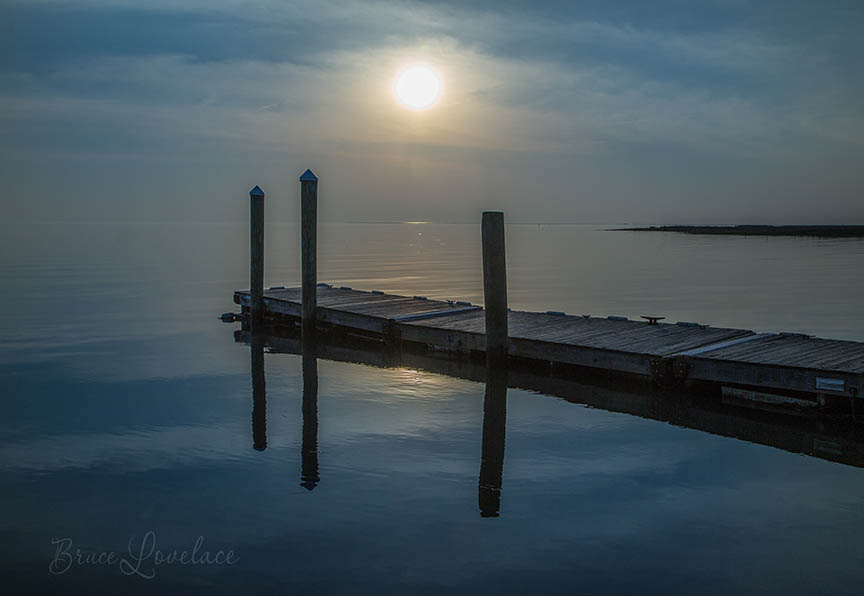
Just because a polarizing filter reduces reflections in your photo doesn't mean it will always make your image better. You should not use a polarizing filter when you want a reflection to be a main element of your photograph's composition.

Below is one of the most dramatic comparisons of using and not using a polarizing filter that I've ever seen in 50 years of photography.
I used a tripod to take this photo, both with and without a filter, in the Delaware Water Gap area of Pennsylvania. By using the polarizer the exposure changed by more than 3 stops-from 1.3 seconds to a 15 second exposure.
More importantly, look at the remarkable difference in the two images. The photo without the polarizer is clearly a much better photograph.

The best part about using a filter that polarizes the light is that you can see what the effect is going to be before you take the photograph. You can hold the filter up to your eye, or hold it up to the lens and look at your digital camera's LCD screen or viewfinder.
Of course the best way to high quality is to use one that screws onto your lens. This is an option if you have a DSLR and an option for some point and shoot digital cameras as well.
Look at the dramatic difference in the window reflections of these two photos below of Charlotte NC buildings. This top photo was taken with no polarizing lens filter.
before and after polarizing filter Comparison
Let's look at a comparison of without and with a polarizing filter used to photograph a city building. Water isn't the only smooth object that reflects the sky and affects how your photograph comes out. Windows are another great example of an object that reflects and a polarizing filter can reduces those reflections significantly.

Look closely. Compare the reflections on the front and right sides of the building in the photo above with the photo below. Look how dark the windows appear in the absence of reflections, particularly on the building on the right in the photo.

This is a case where I actually prefer the non-polarized lens photo more. The reflections on the windows in the window add some dimensionality by making the right side of the building brighter. You can see that using the polarizing filter does add some contrast and saturation to some of the shadows and midtones in the photograph. This building is in Charlotte, NC. For more Charlotte NC Photos.
POLARIZING FILTER Qualities
- Must be circular. Circular polarizers allow you to rotate the filter without unscrewing it from your lens. Since the direction of light changes may change with the situation you're in, it is essential to be able to rotate the filter to control the amount of polarization you want to achieve.
- Must be multi-coated. Lenses themselves will reflect and scatter light, resulting in degradation of image quality. Properly coated lenses give much better image quality.
- Pricing. You get what you pay for and buying a really cheap polarizing filter will give you disappointing results. On the flipside of that, there's no reason to spend a ton on a filter just because some professional landscape photographer recommends a specific brand. Read the reviews of actual, real buyers.
Keep shooting. Keep learning. Keep improving


ABOUT BRUCE LOVELACE
Bruce is the publisher of this website. He is the author of the book "Improve Your Photography Instantly." Read more on Bruce on his Bio Page. He's been known as The Traveling Photographer ever since 1994. Read more about this website.
View some of Bruce's photos on Instagram. Visit the Facebook Page. Watch him on YouTube. Bruce runs photo workshops for kids and adults, and provides one-on-one photography coaching.
Digital Photography Education Location on Google My Business
other camera lens filters
Neutral Density Filter Guide - Beginners Guide To Using ND Filters
What's an ND filter used for? How to use an ND filter, example photos and types of filters. The 5 reasons to use an ND filter.
3 Filters For Macro Photography That Will Give You Spectacular Photos
Imagine what it would be like to take your own eye-catching close-ups without having to buy an expensive macro lens.The 3 kinds of filters for macro photography and which ones should you use.

These filters are available in many stores and online sellers too. The better ones are circular polarizers.
That means they have a rotating ring that turns independently of the screw-on ring. This gives you the ability to adjust the amount of the effect on your photograph.
Fascinating Filter Option That Drastically Reduces The Light
Search for a new topic on this site:
READ REVIEWS ON POLARIZING FILTERS:
Recent Articles
-
No More Blurry Faces! Family Photo Hacks for Sharp & Stunning Photos
Mar 26, 24 08:08 AM
 The right camera settings and a little planning will give you stunning sharp family portraits. Helpful guide to sharp family portraits
 -
How To Do Baby Poses (10 Classic Poses For Babies That You Can Copy
Mar 22, 24 07:17 AM
 Learn heartwarming newborn baby posing. Simple baby poses you can copy. 10 Easy to copy portrait photography poses of babies
 -
20 Photography Tips-How To Instantly Improve Your Photography in 2024
Mar 21, 24 06:13 AM
 How to easily get better photos. These simple photography tips will steer you in the right direction for quickly improving your results as a photographer.
 -
What Is A Kit Lens Good For And How To Get The Most Out of One
Mar 09, 24 12:39 PM
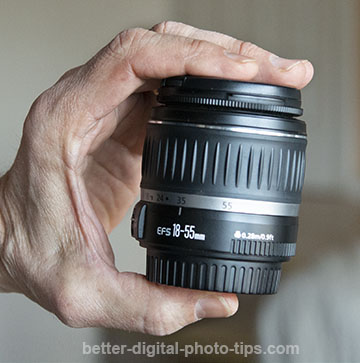 Are kit lenses any good and what are kit lens good for? Advantages and disadvantages. Helpful guide to getting the most out of a kit lens
 -
Why Are USB Flash Drives So Popular. Weird Flash Drives You'll Love!
Mar 06, 24 11:34 AM
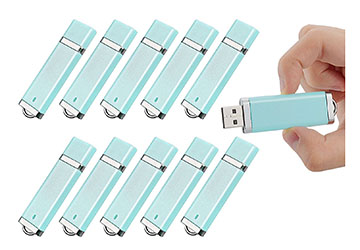 Unique, creative, and weird flash drives. Are they any good and why are flash drives so popular? Helpful guide.
 -
Successful Family Portrait Photography-The Skills You Need to Have
Mar 02, 24 06:19 AM
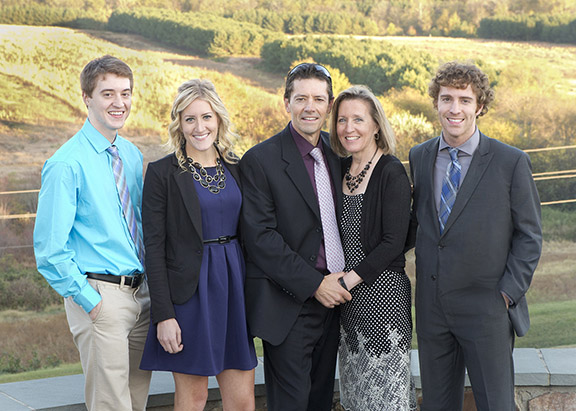 The skills you need to have in order to create great family portrait photography. Beginners guide to the know-how for photographing families.
Improve your photography instantly. Get the 2 most important chapters of my photography book for free.